Unlocking the Power of Azure Cloud Computing: A Comprehensive Guide


Since its launch by Microsoft in 2010, Azure has become a leading cloud computing platform. Azure provides a wide range of services, such as storage, compute resources, networking, cognitive services, databases, analytics, and IoT. These services streamline the building, deployment, and management of applications. The suite of tools Azure offers helps businesses innovate and excel.
Companies today are increasingly adopting cloud solutions to boost their efficiency and productivity. Cloud computing has transformed how companies handle their IT infrastructure and data, enabling them to streamline processes and improve efficiency. As businesses around the world adopt this technology, its importance in driving success is undeniable.
This article provides a practical guide for businesses aiming to utilize Azure effectively for their needs. We will explore the various features and services offered by Azure, providing insights on how to effectively utilize them to meet your business objectives.
Understanding Azure Cloud Computing
Azure is Microsoft’s robust cloud platform, similar to how Google has Google Cloud and Amazon offers Amazon Web Services (AWS). It allows businesses to utilize Microsoft’s vast resources without significant upfront investments. Whether you need virtual machines, fast data processing, analytical tools, or monitoring capabilities, Azure simplifies these tasks and helps businesses operate more efficiently.
Core components of Azure Cloud Computing
Azure Cloud Computing is a service that provides businesses with the ability to use Microsoft’s extensive resources for various IT needs. Instead of setting up large, expensive servers and managing physical space, Azure offers virtual solutions that streamline operations. It supports building, deployment, and management of applications, making it an indispensable tool for today’s businesses.
Data Storage and Management: Azure offers comprehensive data storage and management services. Azure Blob Storage allows businesses to securely store and access large amounts of unstructured data, such as documents and images. Azure SQL Database offers a managed, scalable, and reliable relational database service. Additionally, Azure Cosmos DB manages various data types with global distribution features. These features ensure efficient data management and advanced analytics.
AI and Machine Learning: Azure integrates with AI and machine learning services, enabling businesses to utilize advanced analytics and automation. Azure Machine Learning supports the creation, training, and deployment of ML models, deriving valuable insights from data. Azure Cognitive Services offers pre-built AI models for functions like speech recognition and language understanding, improving customer experiences and fostering innovation.
Single-Pane Operations: Azure’s single-pane operations feature offers a consolidated view of hybrid environments via the Operations Management Suite (OMS). OMS facilitates the smooth monitoring and management of diverse data sources, such as virtual machines and network services. It offers robust security solutions like threat intelligence and malware detection, ensuring comprehensive protection and streamlined operations.
Hybrid Capabilities: Azure integrates effortlessly with on-premises infrastructure, supporting a hybrid cloud strategy for businesses. Azure Stack permits the execution of Azure services on local hardware, and Azure Arc expands Azure management to any infrastructure. This flexibility enables businesses to leverage both on-premises and cloud solutions, enhancing IT control.
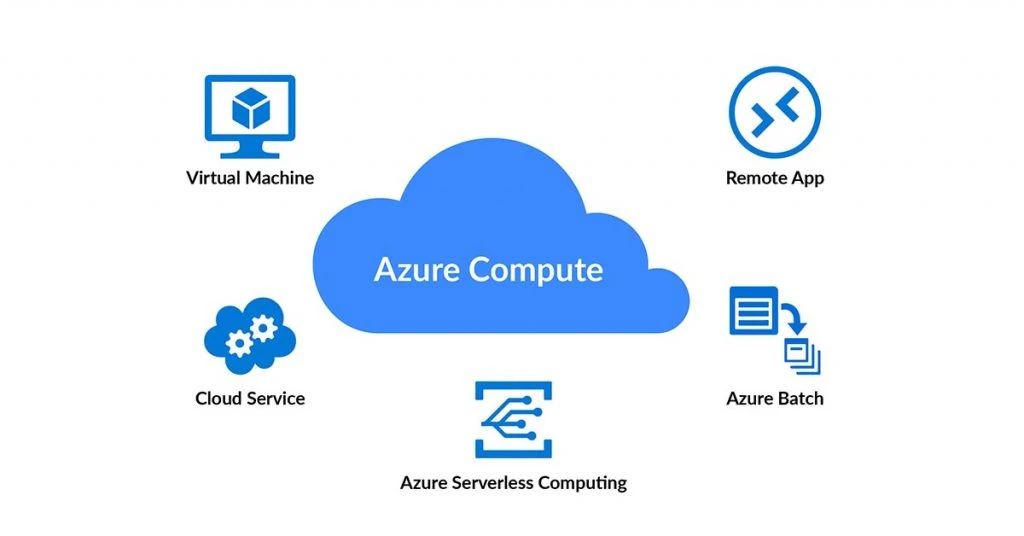
Computational Services: Azure provides a range of computational services, including Infrastructure-as-a-Service (IaaS) and Platform-as-a-Service (PaaS) features. Developers can use PaaS to publish and manage websites, utilizing staging environments to test applications before deployment. This ensures smooth functionality and a superior user experience.
Key Benefits of using Azure for businesses
Key benefits of using Azure for businesses include;
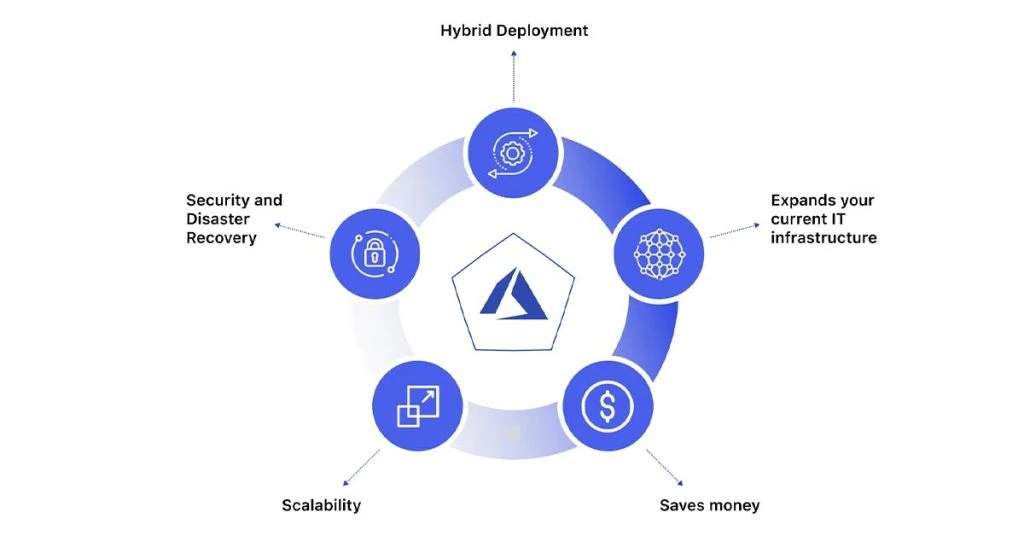
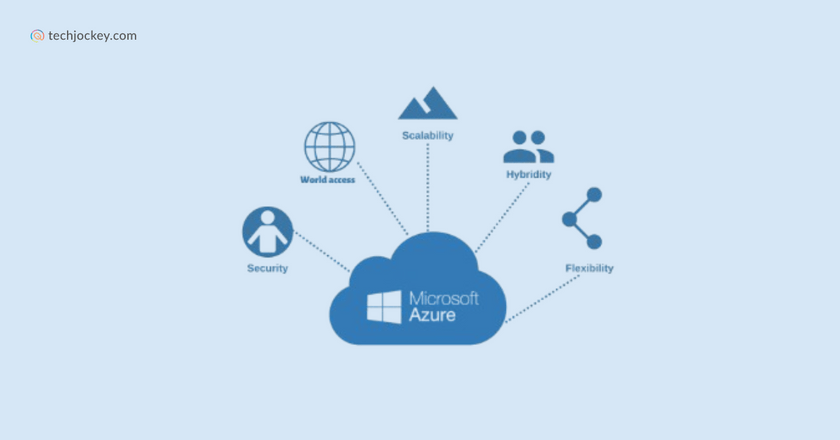
Scalability: Azure’s scalability is unmatched. It allows businesses to easily scale their infrastructure to match growth or seasonal demands. Azure’s extensive services, such as virtual machines and networking, enable custom solutions that meet specific business needs, improving time to market and providing a competitive edge.
Security: Data security is crucial for businesses, and Azure offers comprehensive features to protect data in the cloud. Azure’s built-in threat intelligence, advanced threat protection and compliance certifications guarantee strong security. Data security is further enhanced with role-based access control and encryption during both storage and transit.
Cost-efficiency: Azure provides significant cost savings by removing the need for upfront hardware or infrastructure investments. Businesses are charged only for the services they utilize, minimizing capital and operational costs. Azure’s cost management and resource optimization tools help monitor and control cloud spending, ensuring businesses pay only for what they need.
Services offered by Azure
Azure offers a wide range of services that cater to various business needs, including;
- Compute: Azure batch, Cloud services, Azure functions, App service, Container apps
- Storage: Data Share
- Databases: Apache Cassandra MI, SQL database, and Database for MariaDB
- Networking: Internet Analyzer, Azure Orbital
Deploying Applications on Azure
Azure offers a robust platform for deploying applications, making it easier to manage resources and scale as needed. This guide will walk you through the process of deploying a web application using Azure App Service, creating and managing Virtual Machines, and leveraging containerization with Azure Kubernetes Service (AKS).
How to deploy a web application using Azure App Service
Deploying a web application on Azure App Service involves several steps. Here’s a detailed guide to help you through the process;
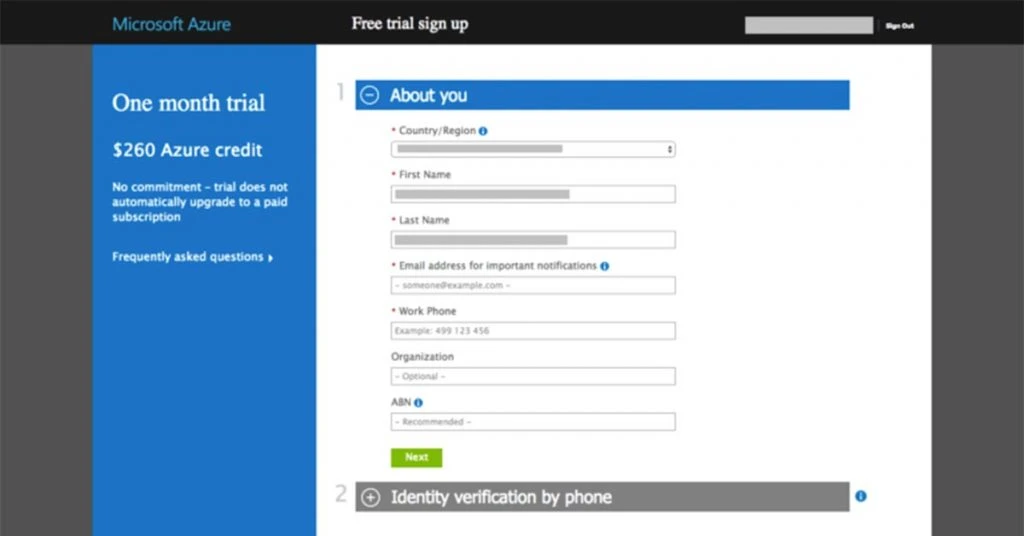
- Create and Set Up Your Microsoft Azure Account: Begin by logging into your Azure portal. If you lack an account, you must create one. Once logged in, you will access the Azure dashboard, serving as your main resource management hub.
- Build Your Web Application: Create your web application using your chosen technology stack. Azure supports various programming languages including Python, C#, Ruby, Java, Vue, Angular, and React. After completion, push your code to GitHub or another version control system.
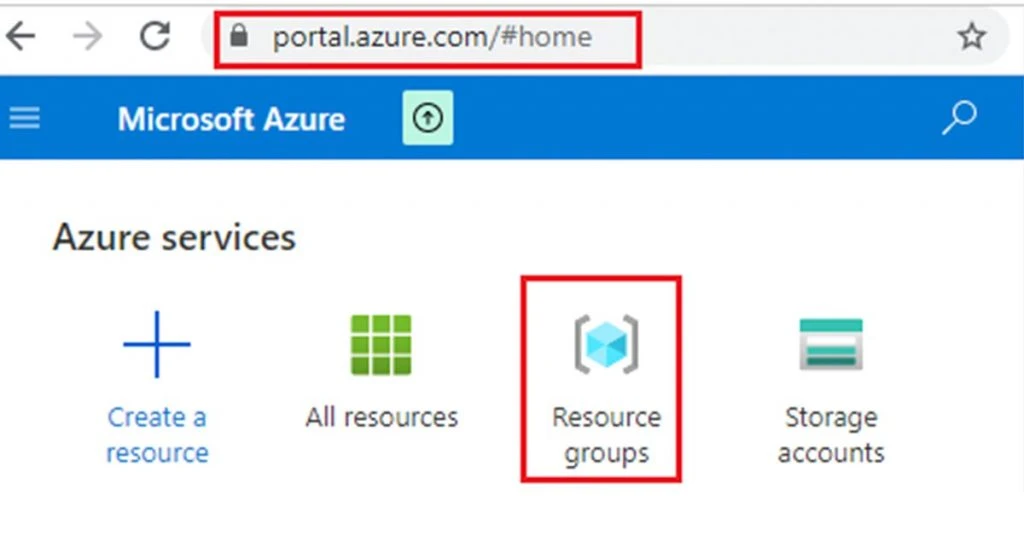
- Create a Resource Group for Your Web App: A Resource Group is crucial for access control and resource allocation. If you don’t have one, create a new Resource Group. Go to the Resource groups option on the Azure dashboard, customize the settings, and click Review + create to finish.
- Create Your Web App Service Using Azure Services: Go back to the dashboard and choose the App Services option. Follow the prompts and choose the appropriate options based on your application’s needs.
- Deploy Your Web App: Once your web app is created, click on its name in the App Services section. You’ll see various options, including the ‘Default domain,’ which provides a link to your deployed web app. Initially, this link will show a default page instead of your application.
To update this, go to the Advanced tools under the development tools section in your web app settings. Choose CMD from the debugging console options. Navigate to the sites folder and then to wwwroot. Here, replace the hostingstart.html file with your application’s files by dragging and dropping them from your computer.
Refresh the Default domain link to see your web app successfully deployed.
How to create and manage Virtual Machines
Azure Virtual Machines (VMs) offer flexible and powerful Infrastructure as a Service (IaaS) from Microsoft. They enable you to create cloud-based VMs by allocating the required compute power and storage capacity.
You can set up private networks for these VMs and enable inbound and outbound connections to various other networks. VMs are ideal for development environments. Here’s a step-by-step guide on how to create and manage VMs using the Azure portal.
Steps to Create an Azure Virtual Machine (VM)
- Login to the Azure Portal: Start by accessing the Azure Portal and signing in. If you don’t have an account, you need to create one first.
- Create a New Virtual Machine: Navigate to “Create a resource” and select “Windows Server 2016 Datacenter” from the options.
- Configure Basic Settings: On the “Create a VM” page, input your subscription details, resource group name, VM name, and choose the image.
- Choose VM Size: Click on “Change size” and select the desired configuration. There are 145 options available, each with different configurations and prices. Some options may not be available in all regions.
- Set Administrator Credentials: Enter the administrator account credentials and configure inbound ports.
- Configure Additional Settings: You can proceed with the default settings, but you have the option to configure additional sections if required. Click “Next” to go to the Disks section.
- Select OS Disk Type: In the Disks section, choose the OS disk type. Options include Standard SSD, Standard HDD, and Premium SSD. Premium SSDs offer high IOPS and are suitable for high-performance systems. Standard SSDs have lower performance compared to Premium SSDs. Standard HDDs use magnetic drives and are ideal for less frequent data access.
- Decide on Managed or Unmanaged Disks: The “Use Unmanaged Disks” option allows control over the disks used in the VM. If you need to store VHDs in your own storage account, select “No” and connect to your storage account. By default, Azure manages the disks, so this option is set to “No.”
- Configure Networking: In the Networking section, create a virtual network for your VM and assign a subnet. A public IP address is necessary for internet access. Configure basic inbound ports, or use the advanced option to create a network security group with specific inbound and outbound rules.
- Configure Management Settings: In the Management section, enable Boot Diagnostics to log startup events, which can help trace issues if the VM fails to start. Logging OS guest diagnostics to an external storage account is beneficial for alert creation. Enabling Managed Service Identity allows Azure AD user management for VM access. The Auto Shutdown feature helps reduce costs by shutting down the VM during off-hours. You can also enable Backup with Recovery Service Vaults and assign a backup policy for frequency and retention.
- Configure Guest Configurations: The Guest Configurations section allows you to bring the VM to a desired state after initialization. For example, you can install extensions that run custom PowerShell scripts on startup.
- Assign Tags: In the Tags section, assign tags to group similar resources. Tags are dictionary objects with name-value pairs and help with consolidated billing.
- Review and Create: Review all the settings and click “Create.”
- Verify Created Resources: In the “All Resources” section on the left panel, verify the created resources, including the VM, OS disk, network interface, public IP, network security group, virtual network, storage account, and recovery service vault.
- Access the Virtual Machine: Select the virtual machine to download the RDP file. Use the administrator account credentials from step 5 to log in to the VM.
Containerization with Azure Kubernetes Service (AKS)
Azure Kubernetes Service (AKS) simplifies the deployment and management of containerized applications through a fully managed Kubernetes container orchestration service. It provides a streamlined experience for running Kubernetes on Azure, offering integrated tools and services to ensure high availability, scalability, and security.
Prerequisites
Before starting, ensure you have an Azure account. If you don’t have one, create a free Azure account. Sign in using your Azure credentials.
Create a Resource Group
- Go to “Create a resource” in the left-hand menu of the Azure Portal
- Search for “Resource group” and select it from the results
- Click “Create”
- Enter a unique name
- Choose a region
- Finalize by clicking “Review + create” and “Create
Create an AKS Cluster
- In the Azure Portal, click “Create a resource” again
- Search for “Kubernetes Service”
- Select “Kubernetes Service (AKS)”
- Click “Create” to begin the AKS creation wizard
Basics
- Choose your Azure subscription
- Select the resource group created earlier
- Enter a unique name for your AKS cluster
- Choose the region
- Select desired Kubernetes version
Cluster Preset Configuration
Select a cluster preset configuration suitable for your needs. This provides predefined setups optimized for development and testing tasks.
Availability Zones
Specify the availability zones for your cluster nodes to ensure increased resiliency.
AKS Pricing Tier
Choose a pricing tier that matches your requirements.
Automatic Upgrade Type
Select an upgrade type to determine when the cluster will be upgraded based on new AKS and Kubernetes releases. For example, “Enable with Patch” allows for recommended automatic upgrades
Authentication and Authorization
For authentication and authorization, use local accounts with Kubernetes RBAC, offering native Kubernetes RBAC within your AKS cluster.
Click “Next: Node Pools” to proceed
Node Pool
Customize node pools based on application requirements, including the number of nodes and VM size.
Click “Next: Networking” to continue.
Networking
Configure networking settings for your AKS cluster. Default settings usually suffice for most use cases.
Integrations
Configure integrations with Azure services and features
Enable integrations with Azure services like Azure Container Registry and Azure Policy
Click “Next: Monitoring” to proceed
Monitoring
Enable monitoring using Azure Monitor and Azure Log Analytics for cluster diagnostics.
Click “Next: Scaling” when ready
Tags
Add tags to your AKS cluster for better organization.
Click “Review + create” to finalize
Review and Create
Review all configuration settings
Click “Create” to start provisioning the AKS cluster
Deployment
Azure will begin deploying your AKS cluster. Deployment may take several minutes.
Real-World Use Cases
Many modern businesses are turning to Azure Cloud Computing to meet their dynamic needs. With Azure’s powerful and scalable solutions, companies across various industries can innovate faster, enhance productivity, and maintain competitive edges. Here, we explore real-world examples of businesses that have successfully integrated Azure Cloud Computing into their operations and the significant benefits they have achieved.
Examples of businesses successfully using Azure Cloud Computing
Azure Cloud Computing has been a game-changer for numerous high-profile companies. Let’s delve into a few notable examples;
- Shell: Shell, a leading oil and gas company, utilizes Azure for its extensive data processing, storage, and analytics needs. By adopting Azure, Shell can efficiently handle large volumes of data and gain valuable insights through advanced analytics.
- eBay: As a global e-commerce platform, eBay relies on Azure for its scalability, dependability, and powerful analytical capabilities. Azure’s robust infrastructure ensures that eBay can handle high traffic volumes and provide a seamless shopping experience for its users.
- Autodesk: Autodesk, a software company, leverages Azure to develop and deploy applications and perform sophisticated analytics. This enables Autodesk to deliver innovative solutions to its customers and maintain a competitive edge in the market.
- Johnson & Johnson: This healthcare giant uses Azure for application development, data storage, and analytics. Azure’s cloud solutions help Johnson & Johnson streamline their operations and enhance their data management capabilities.
- Adobe: Adobe hosts its creative cloud services on Azure, benefiting from Azure’s secure and scalable cloud environment. This allows Adobe to provide reliable and high-performing services to its vast user base.
Conclusion
Cloud computing with Microsoft Azure is essential for businesses aiming to improve operations and productivity. In this blog we discussed key aspects of deploying applications on Azure, including setting up and managing virtual machines, and using Azure Kubernetes Service (AKS) for containerization. It provided detailed, step-by-step instructions to help users effectively utilize these Azure services for their cloud computing needs.
Using Azure Cloud Computing enhances business growth and efficiency by offering scalable solutions, advanced security measures, and cost-effective resource management. Azure’s streamlined deployment and management processes allow businesses to focus on core operations and innovation, reducing infrastructure handling complexities.
Azure’s comprehensive suite of services presents significant potential for transforming business operations. By leveraging Azure’s capabilities, organizations can achieve greater efficiency and scalability, positioning themselves for sustained growth and success in the competitive market.

Written by
Techjockey Team ![]()
The Techjockey content team is a passionate group of writers and editors dedicated to helping businesses make informed software buying decisions. We have a deep understanding of the Indian software market and the challenges that businesses face when choosing the right software for their needs. We are committed... Read more