Trello is a powerful project management tool that helps you organize tasks, collaborate with your team, and streamline workflows, all in one easy-to-use platform. Whether you’re managing a complex project, planning an event, or just trying to stay on top of your daily to-do list, Trello offers a visual and flexible way to keep everything in order.
In this step-by-step tutorial, we’ll walk learn how to use Trello, from setting up your first board to mastering advanced features. By the end of this guide, you’ll have all the tools you need to manage your projects efficiently and effectively.
What is Trello?

Trello
Starting Price
$ 6.00
Trello is a project management tool that you can use with your team to manage different project types, workflow, and tasks. It makes it easier to insert files, checklists, automation, and so on. Trello’s drag-and-drop functionality, customizable workflows, and automation features make it easy to manage projects of any size. Furthermore, it is widely used across various industries for everything from simple to-do lists to complex project management.
How to Use Trello for Effective Project Management?
Take a look at all the steps you need to follow to use Trello for efficient project management below:
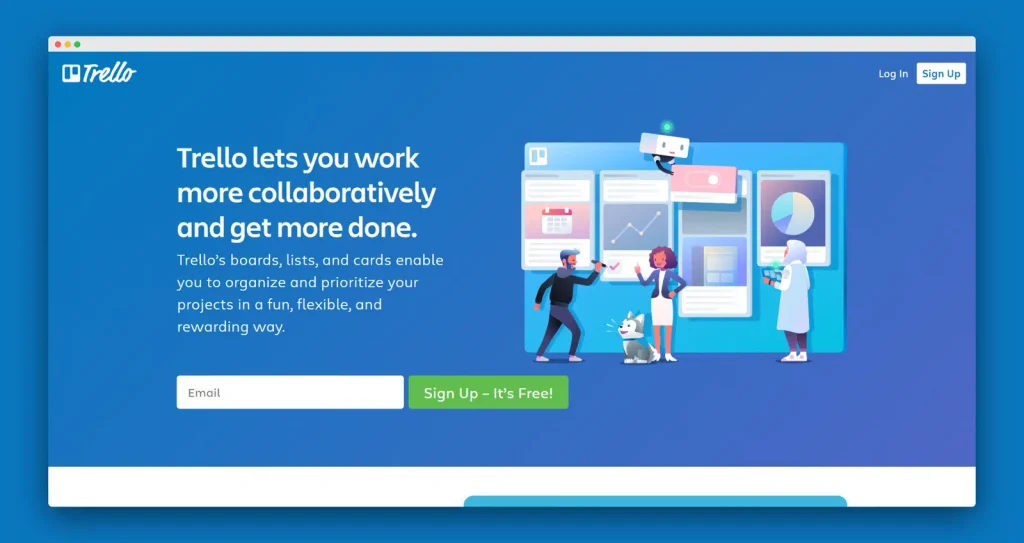
- Step 1: Sign Up in the App: If you are a first-time user, you need to sign up in the Trello app. Once you do that, you will see an option to create a new board.
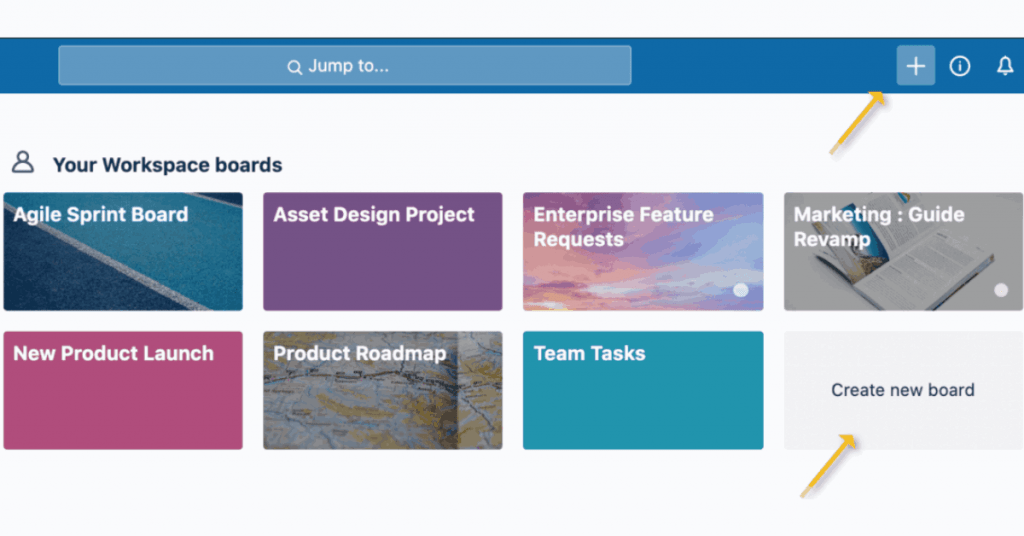
- Step 2: Create a New Board: Go to the personal board tab and choose the option to create a new board. Further, you can change the board’s background color and add your team members.
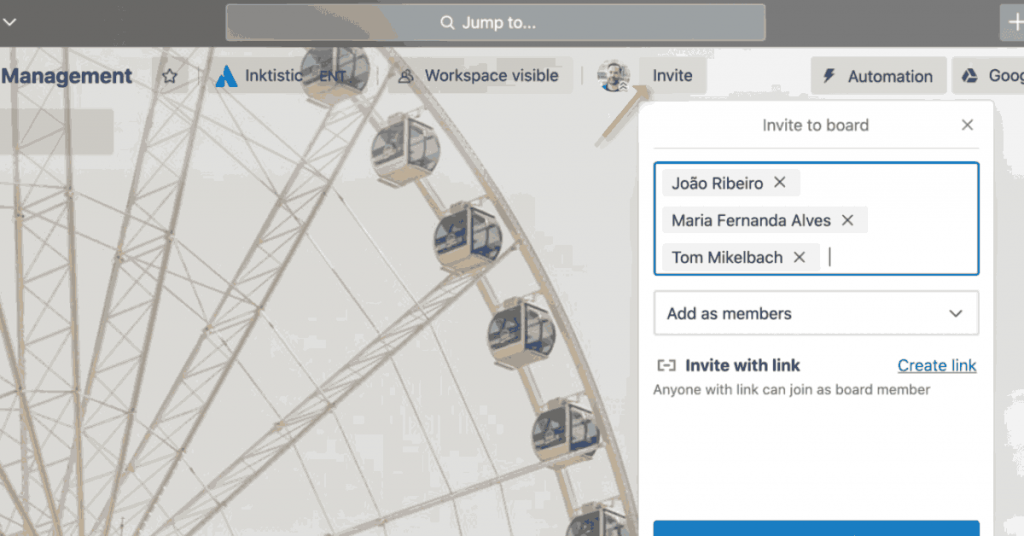
- Step 3: Create Your Team: To create a new team, go to the “Create a team.” Further, you need add a name for your team and also a little bit description about it. Next, enter all the email IDs of your team members and send them an invitation to use Trello.
- Step 4: Generate Lists in Trello: In Trello, you can create three different type of lists including To do, In Progress, and Do. For that, open the board and click on the add list option. Next, name the list and add it. Once done, right below the list, you will get the option to insert the card.
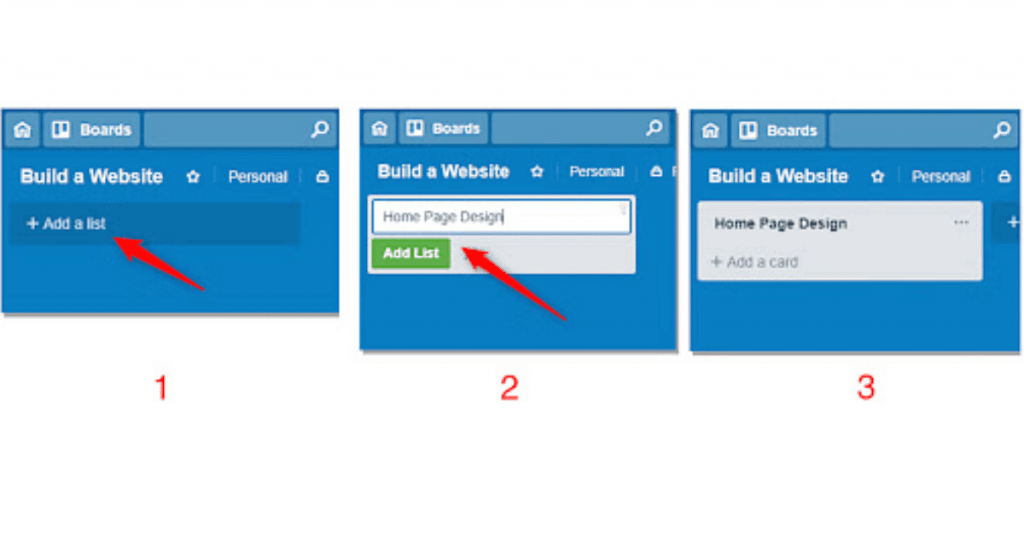
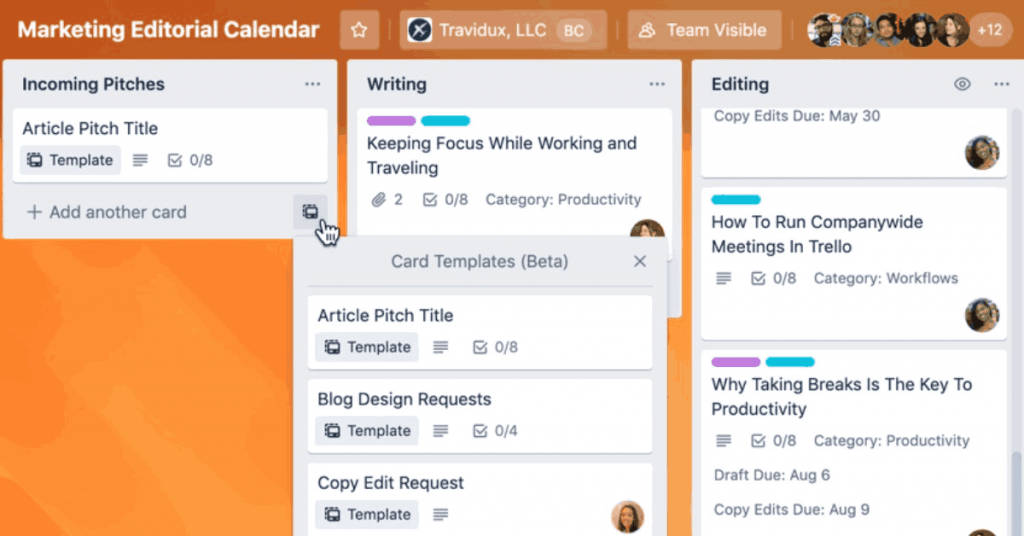
- Step 5: Create Cards in Trello: Go to the Add Card option below the list, enter the title of the card and click save. Further, you can add description or comments in the card. Moreover, you can also add labels, attachments, and checklists within the same card.
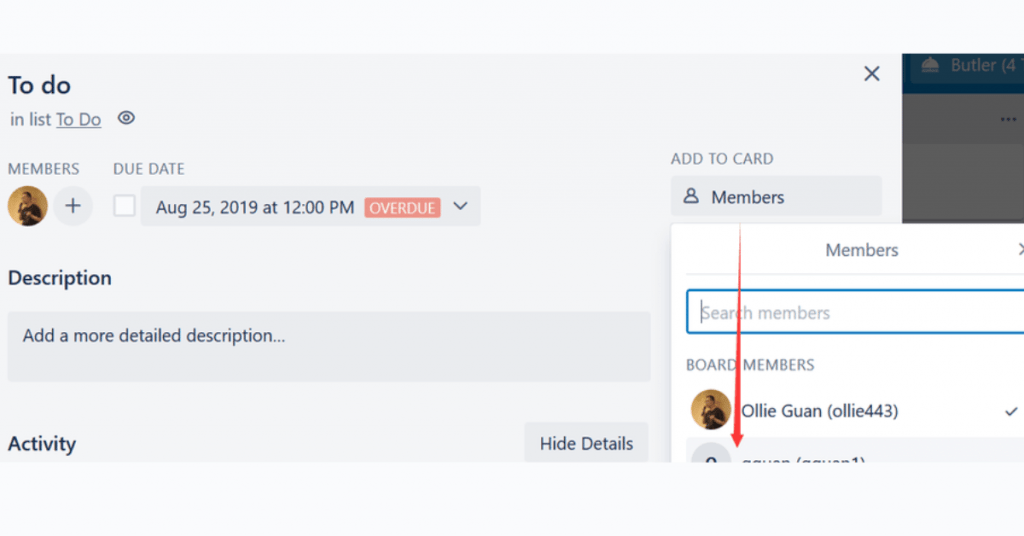
- Step 6: Assign Cards: For that purpose, select the card you want to assign team members. Next, select the Members on the right and search the members and add them in the card.
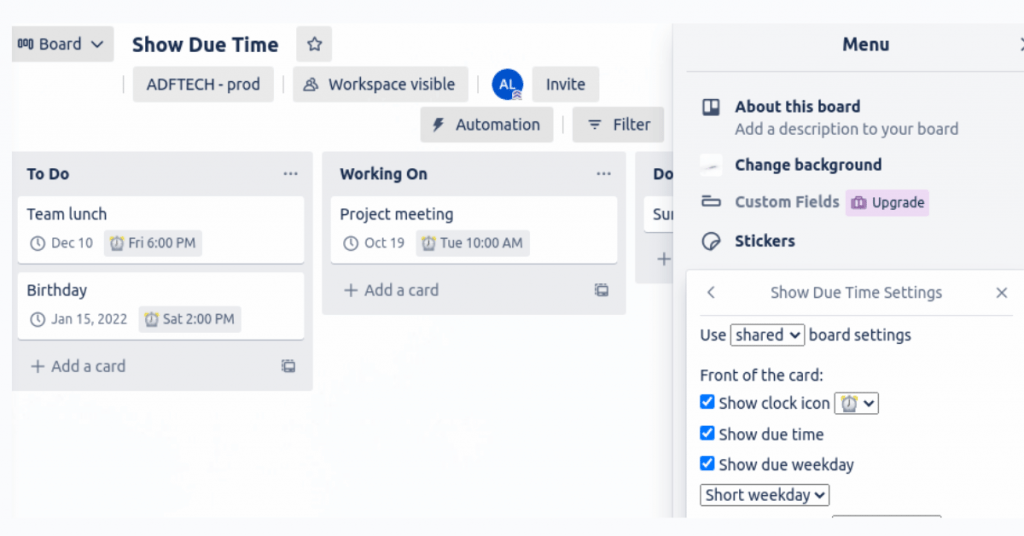
- Step 7: Add Due Dates: Once you have assigned the cards, next you need to add the due dates. For that, click on the card and select the due date option from the right. Further, add due date from the calendar and time and click save.
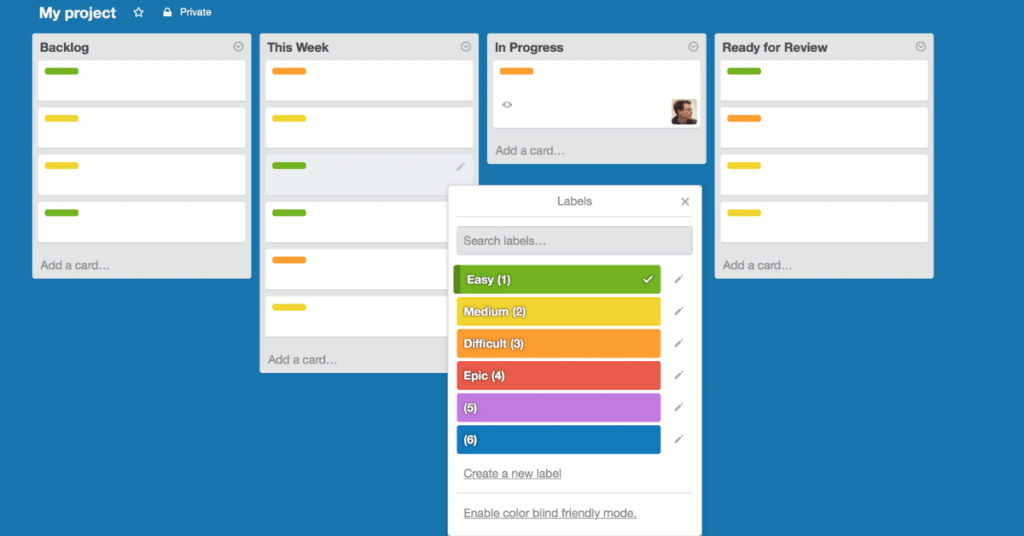
- Step 8: Add Labels to Cards: This project management software also lets you add colored labels to the cards to identify the task type. For that, select the card you want to label and choose the label options from the right. Next, choose the labels from the given list.
How to Get Started with Trello?
To start with Trello, you can put the project in the ‘In Progress’ tab by dragging the card into that last as shown in below:
In this card, we can see what progress has been made in that particular task. These changes can be easily viewed in the checklist.
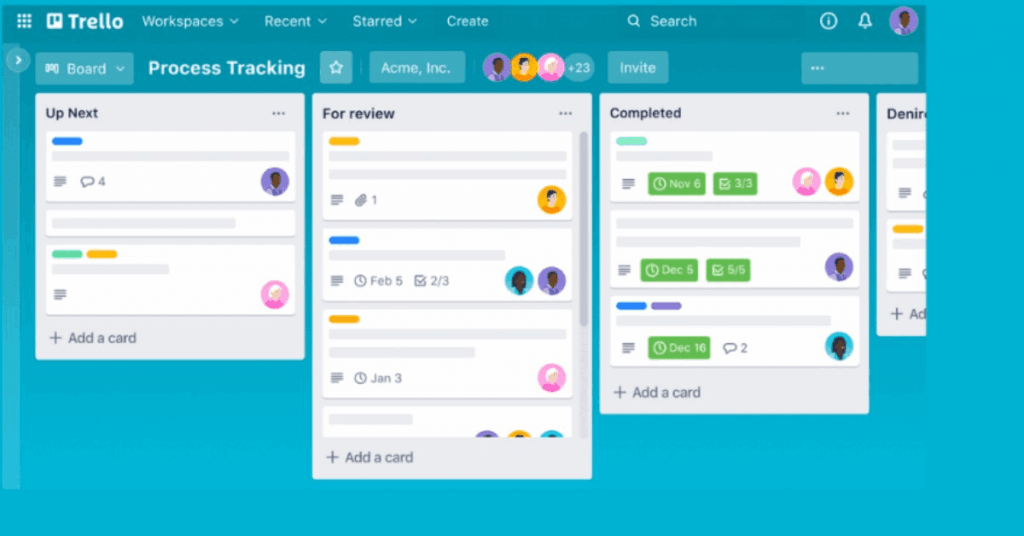
If a project faces delays, you can move it to the ‘On Hold’ list. Once the delay is resolved, return the project to the ‘In Progress’ list. After completion, move the project to the ‘Completed’ list.
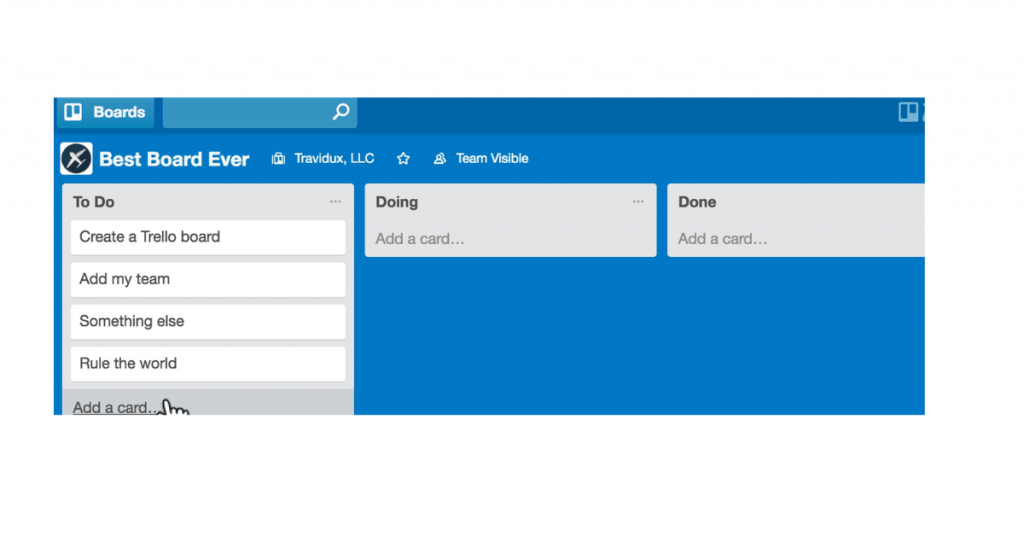
Upon completion, you can archive the project by right-clicking on it and selecting the ‘Archive’ option.
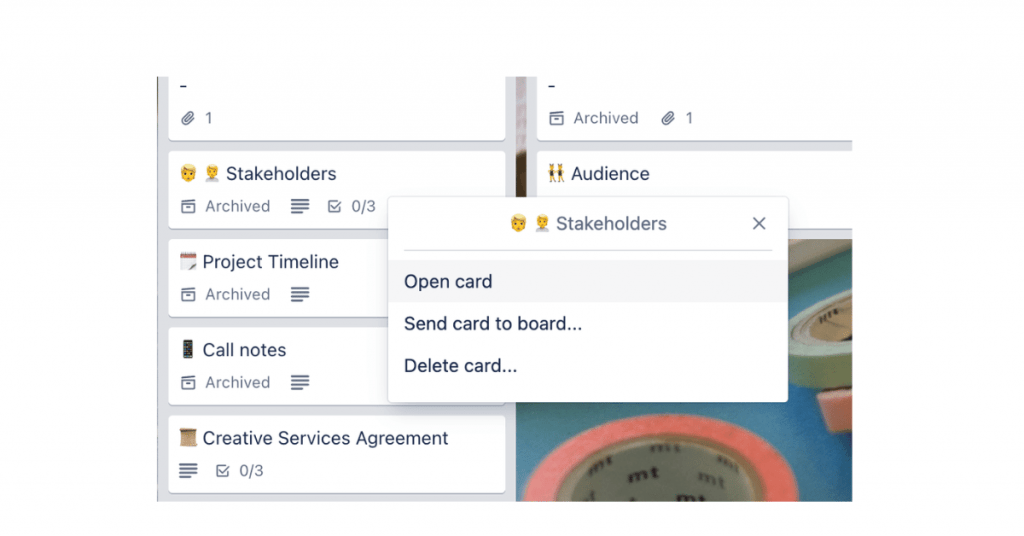
Archiving a project indicates its completion. If you need to reactivate an archived card, navigate to the menu and choose “More”.
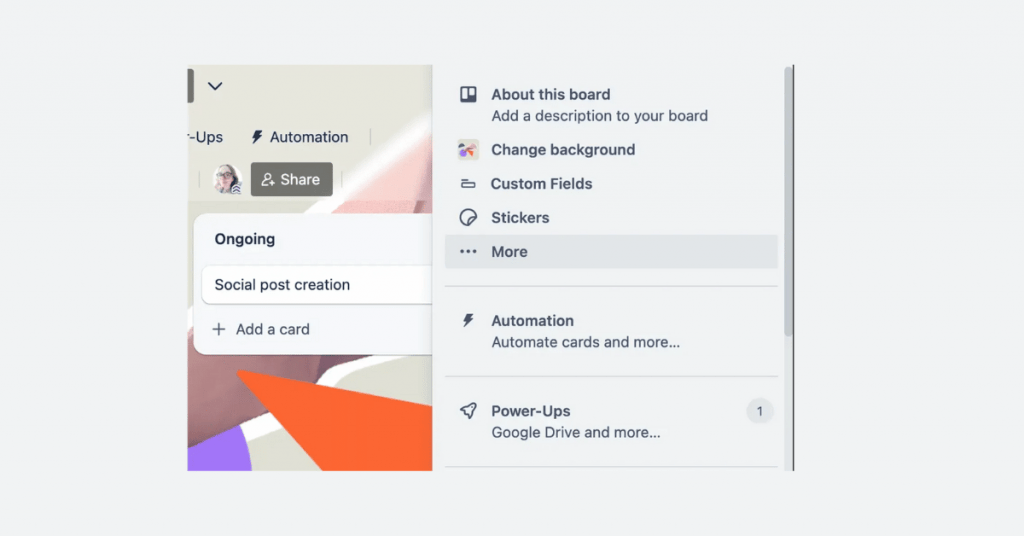
Then, select ‘Archived Items’ to restore the card back to the board.
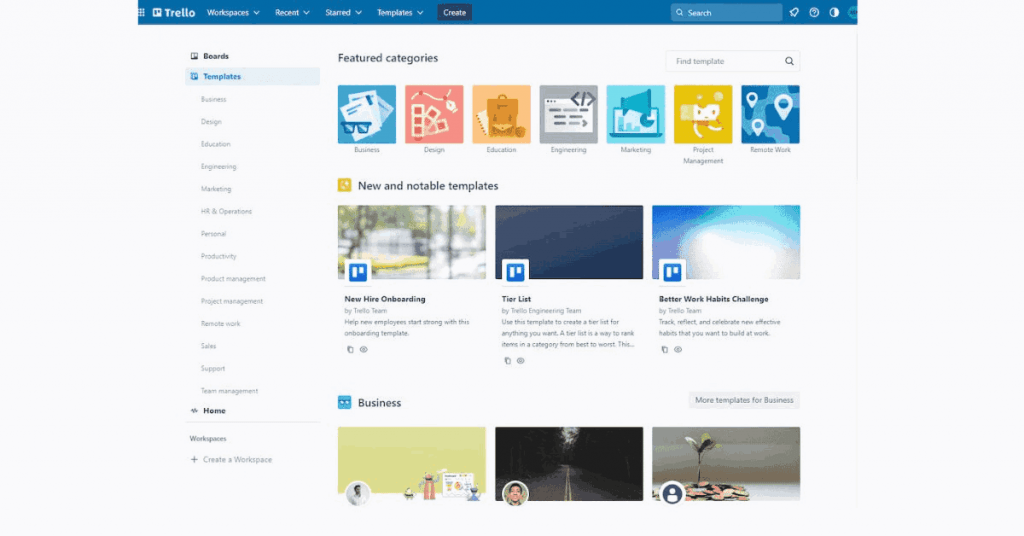
On the home screen, you can explore a variety of pre-made templates by selecting the ‘Templates’ option.
Click on ‘Template.’
The ‘Home’ option on the dashboard displays all activities across your boards.
The ‘Home’ option.
Keep in mind that you can create a separate board for each project based on your needs. However, with a free account, you’re limited to 10 boards.
Key Features of Trello
Here are some important features of Trello that you can consider to automate and streamline your project management:
- Boards, Lists, and Cards: Visual organization of tasks using boards for projects, lists for stages, and cards for individual tasks.
- Labels, Tags, and Categories: Customize and categorize cards with color-coded labels, tags, and categories for quick identification.
- Checklists and Due Dates: Break down tasks into subtasks with checklists and set deadlines using due dates to manage timelines.
- Integrations: Enhance Trello’s functionality with integrations like Slack, Google Drive, Calendar, and more, adding extra features and tools.
- Collaboration Tools: Assign tasks, comment on cards, mention team members, and attach files to facilitate teamwork and communication.
- Calendar and Timeline Views: Visualize project timelines and deadlines with calendar and timeline (Gantt chart) views.
- Customizable Workflows: Tailor boards, lists, and cards to match specific project needs, creating unique workflows for different types of projects.
Benefits of Using Trello
Trello makes it easier for you to manage your tasks and projects. Here are some other benefits of using this project management software for you.
- Flexibility and Customization: In Trello, boards, lists, and cards can be easily customized to fit any of your project or workflow requirements.
- Real-Time Collaboration: With this project management tool, you can collaborate with several users in real time to assign tasks, comment, and share files on the same board.
- Real-Time Updates: Receive real-time notifications and updates to stay informed about project progress and changes.
- Integration with Other Tools: Trello integrates seamlessly with popular tools like Slack, Google Drive, Jira, etc., via Power-Ups. This helps to streamline the data flow among these different apps.
- Scalability: Suitable for both small teams and large organizations, Trello scales to handle anything from simple tasks to complex projects.
Trello Pricing
Trello pricing comes under four plans. The first plan is free and offers features like creating unlimited cards, custom backgrounds, assignee and due dates, etc. Further, it offers a Standard Plan starting from INR 419.81/month and comes with features like advanced checklists, single board guests, custom fields, and so on.
Furthermore, it comes its Premium plan starting from INR 839.59/ month/user. Moreover, it comes with features like Calendar View, Workspace Level Templates, Easy Data Export, and so on. Lastly, it provides an Enterprise plan starting at INR 1,469.17/month/user. You can consider this plan if you want features like Unlimited Workspaces, Public Board Management, Multi-Board Guests, etc.
Conclusion
Mastering Trello can transform the way you manage projects, whether you’re working solo or as part of a team. Moreover, with its intuitive interface and customizable features, Trello makes it easy to keep track of tasks, deadlines, and progress. As you’ve seen in this tutorial, getting started with Trello is straightforward, but the possibilities for how you can use it are endless. Now that you have the basics down, you can explore Trello’s advanced features and integrations to take your productivity to the next level.
Varsha is an experienced content writer at Techjockey. She has been writing since 2021 and has covered several industries in her writing like fashion, technology, automobile, interior design, etc. Over the span of 1 year, she has written 100+ blogs focusing on security, finance, accounts, inventory, human resources,... Read more


