How to Use DaVinci Resolve Step-by-Step Guide for Beginners


DaVinci Resolve is a powerful video editing software that offers an all-in-one solution for editing, color correction, visual effects, and audio post-production. Therefore, professionals and beginners use it due to its robust features and user-friendly interface which makes it an excellent choice for video editing. In this step-by-step guide, we will walk you through the basics of DaVinci Resolve, from creating a new project to adding text to your videos. Whether you’re looking to edit your first YouTube video or work on a school project, it will help you create professional quality videos.
How to Create a New Project on DaVinci Resolve
Before you start editing, you must set up your project correctly to ensure smooth editing and consistency throughout your workflow.
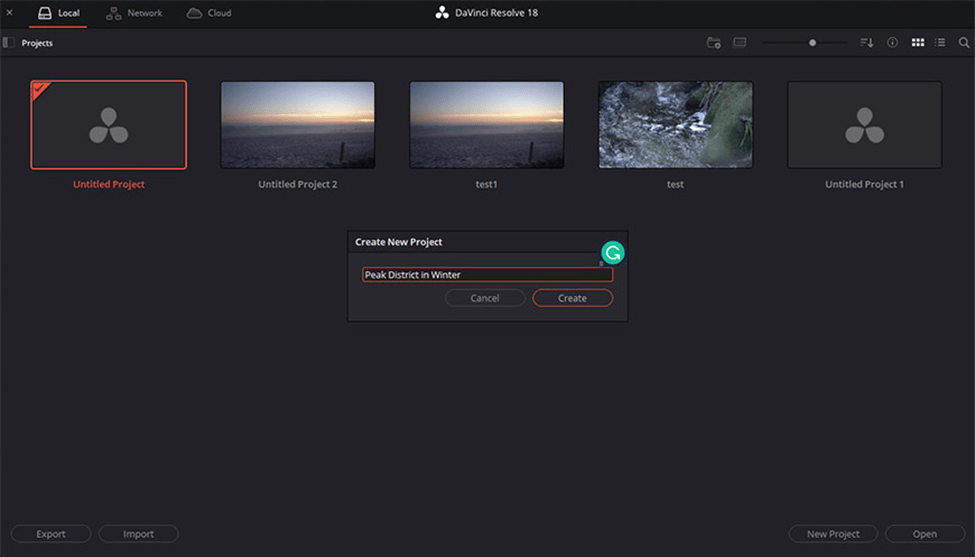
Open DaVinci Resolve: Launch the software. You’ll see the Project Manager window where you can create and manage your projects.
Create a New Project: Click on the “New Project” button, name your project, and click on “Create.” This will open the main interface.
Project Settings: Now,for project settings, you have to look at the frame rate, resolution, format settings, playback framerate, and audio settings.
- Frame Rate: Click on the cog icon in the lower right corner to access the project settings. Set your timeline frame rate to match your footage’s frame rate. For instance, if your footage is shot at 30 frames per second (fps), set the timeline frame rate to 30fps.
- Resolution and Format: Ensure the resolution matches your desired output, typically 1920×1080 for Full HD, but you can choose higher resolutions if needed.
- Playback Frame Rate: Match this to your timeline frame rate for smooth playback.
- Audio Settings: Configure the audio settings to match your project’s needs, ensuring the sample rate and audio channels are correctly set.
Setting up these basics ensures that your project runs smoothly and that your final video looks and sounds as expected.
How to Navigate Through DaVinci Resolve

DaVinci Resolve
Starting Price
₹ 29980.00 excl. GST
DaVinci Resolve is divided into different pages, each dedicated to a different part of the editing process. For example:
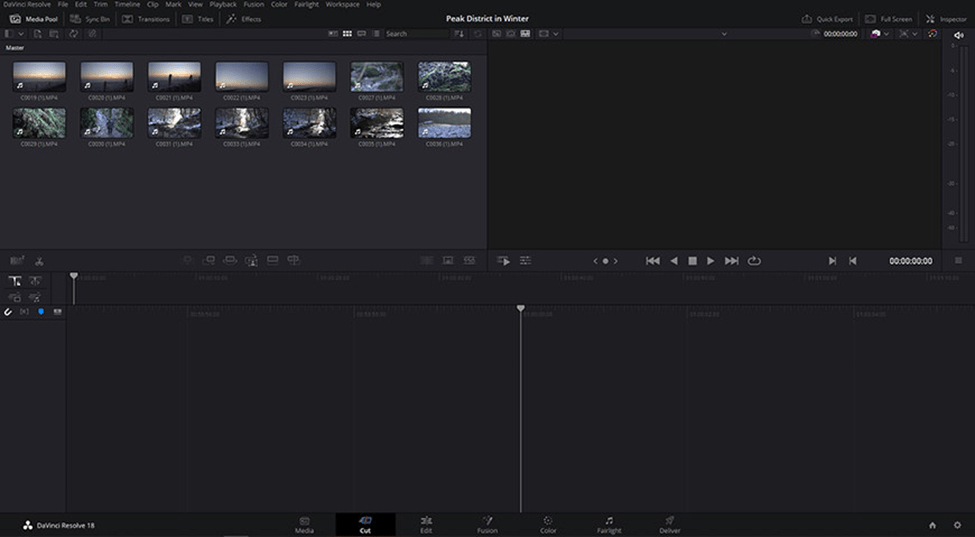
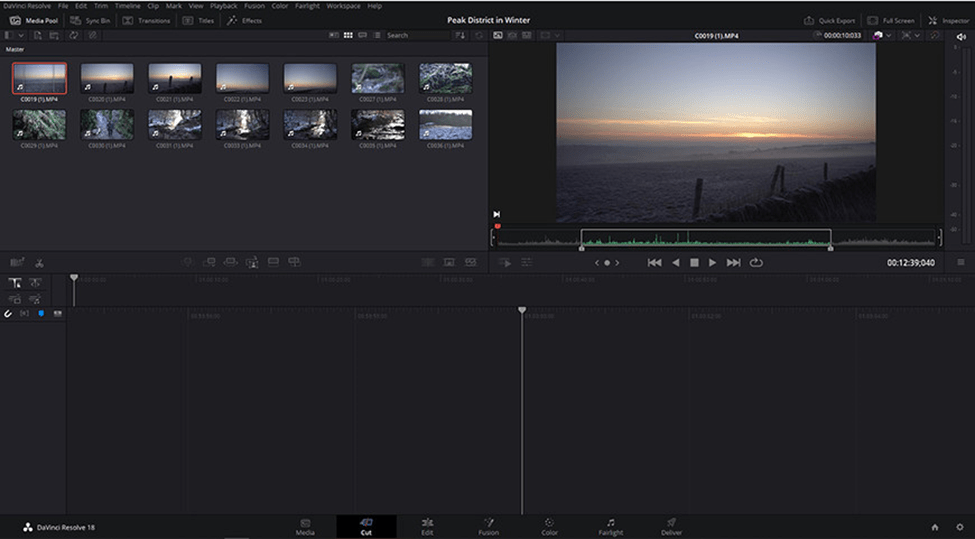
- Media Page: This is where you import and organize your media files.
- Cut Page: This page is designed for quick edits.
- Edit Page: The most used page for detailed editing.
- Fusion Page: For advanced visual effects and motion graphics.
- Color Page: Dedicated to color correction and grading.
- Fairlight Page: For audio editing and mixing.
- Deliver Page: Where you export your final project.
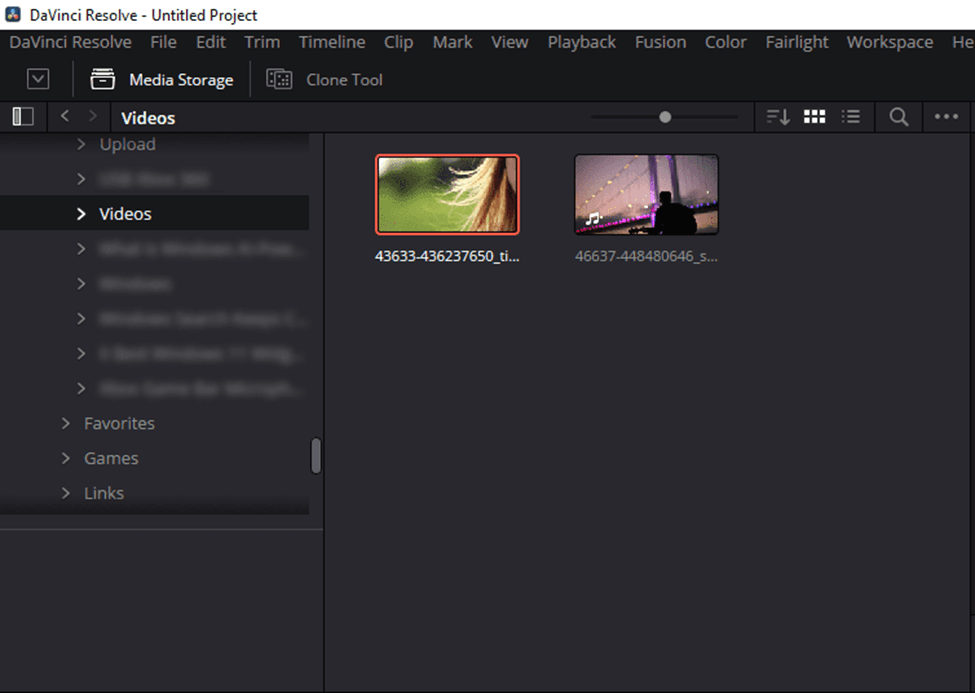
How to Import Media Using DaVinci Resolve
Bringing your media files into DaVinci Resolve is the first step towards building your project. You can import video clips, images, and audio files to use in your project. There are several ways to import media. These include:
- File Menu: Navigate to File > Import > Import Media.
- Media Tab: Use the file browser in the Media Tab to locate your files.
- Drag-and-Drop: Simply drag media files directly from your computer into the Media Pool.
Once imported, organize your media in bins/folders within the Media Pool for a smooth editing process where all your assets are easy to locate and manage. You might have separate bins for video clips, audio, and images.
How to Trim Clips in DaVinci Resolve
Trimming is a crucial step in refining your footage by keeping only the parts you need. This helps in creating a clean and concise video.
Cut Tab: Switch to the Cut Tab for trimming.
Set In (I) and Out (O) Points: Play your clip to see which parts you want to keep.Press “I” at the point where you want the clip to start.Press “O” where you want the clip to end.
Fine-tuning: You can adjust these points by dragging the “In” and “Out” markers. For more precise adjustments, switch to the Edit Tab where you can use the Blade tool to make cuts at exact frames.
Trimming your clips helps you focus on the best parts of your footage.
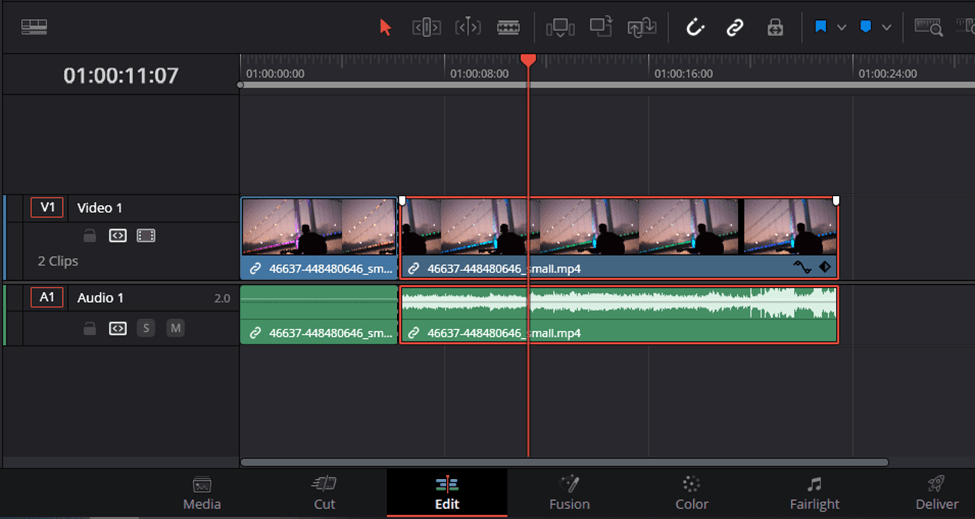
Adding Clips to the Timeline Using DaVinci Resolve

The timeline is where you assemble your video, adding and arranging clips to tell your story.
- Drag and Drop: Drag trimmed clips from the Media Pool to the timeline in the Edit Tab.
- Arrange Clips: Move clips around by dragging them to different positions on the timeline to create a sequence.
- Review Edits: Use the playhead to review your sequence. The Blade tool can be used for precise cuts and adjustments.
Organizing your clips on the timeline helps you visualize your project and make necessary edits to enhance your video.
How to Add Audio and Video to Your Project
- Import Media: Go to the Media page. Then, click on the “Import Media” button or drag and drop your files into the media pool.
- Add Media to Timeline: Switch to the Edit page. Drag your video and audio files from the media pool to the timeline at the bottom.
How to Add Effects to Your Project
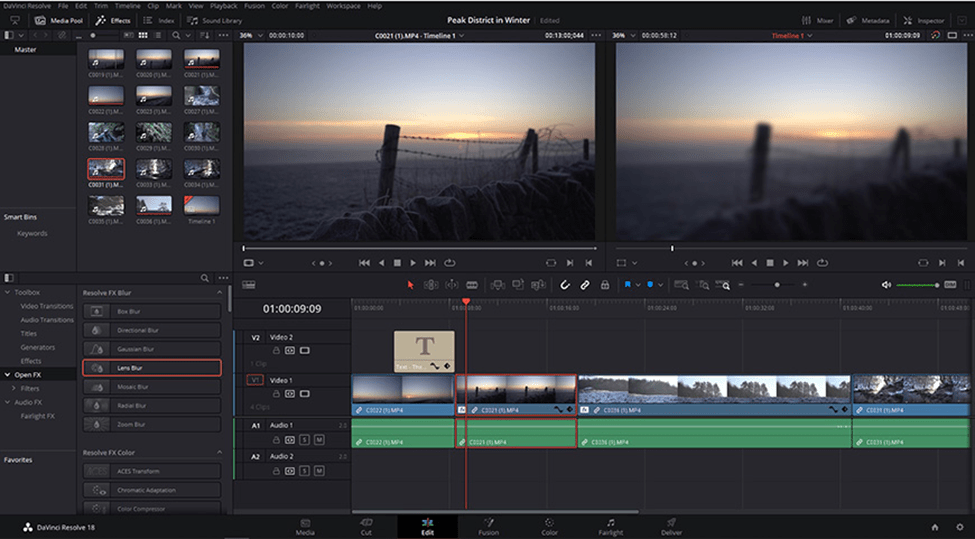
Effects can enhance your video by adding visuals to it.
- OpenFX: In the Effects Library, select OpenFX to access a range of visual effects.
- Apply Effects: Drag an effect onto the desired clip on the timeline. Effects can include anything from blurs and glows to more complex visual modifications.
- Customize Effects: Use the Inspector Panel to modify effect settings. Adjust parameters such as intensity, color, and movement according to your preference.
Color Correction Using DaVinci Resolve
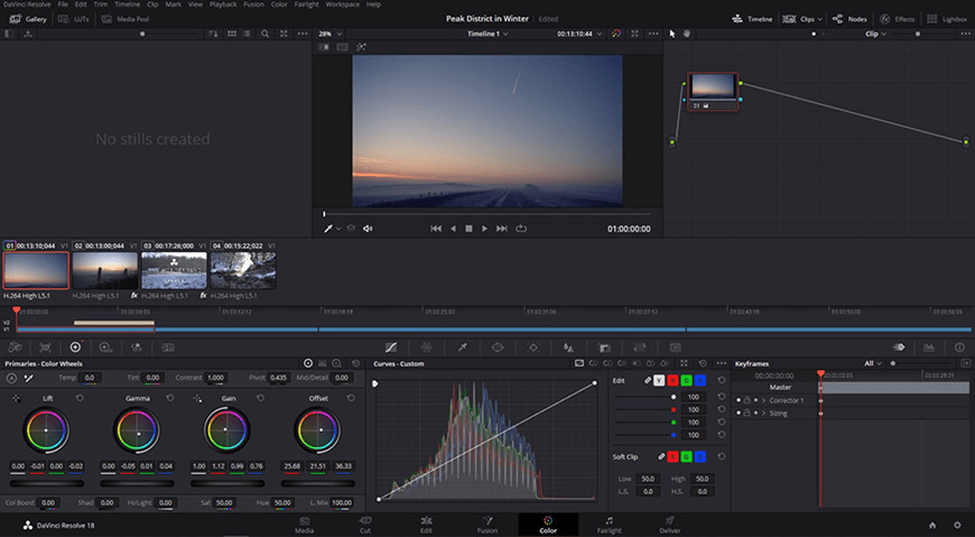
Color correction helps improve the visual quality of your video, making it more appealing and professional. You can switch to the Color Tab to access the color grading tools. Then, you can go for basic corrections and advanced grading tools.
Basic Corrections: For basic corrections, you can simply:
- Adjust brightness and contrast to balance your footage.
- Ensure colors are accurate and vibrant.
- Use the Lift, Gamma, and Gain tools to make skin tones look natural.
Advanced Grading: Use the color wheels, curves, and other advanced tools for more detailed adjustments. Experiment with different color grading techniques to achieve the desired mood and tone.
Including Transitions in DaVinci Resolve
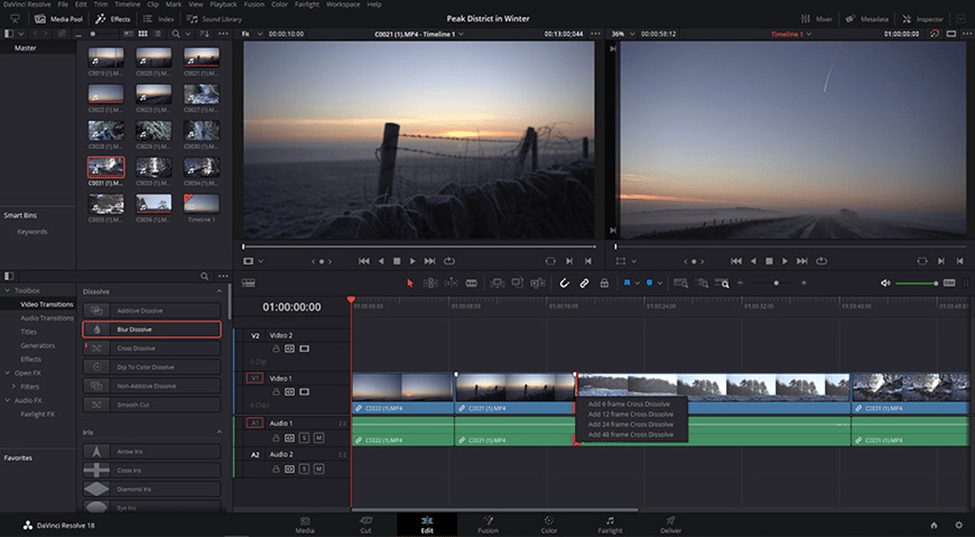
Transitions add a professional touch to your edits by streamlining the flow from one clip to another.
- Access Transitions: In the Edit Tab, open the Effects Library and select Video Transitions.
- Apply Transitions: Drag a transition between two clips on the timeline. Common transitions include cuts, fades, and wipes.
- Customize Transitions: Use the Inspector Panel to modify the transition’s duration and other properties.
How to Split Clips in DaVinci Resolve
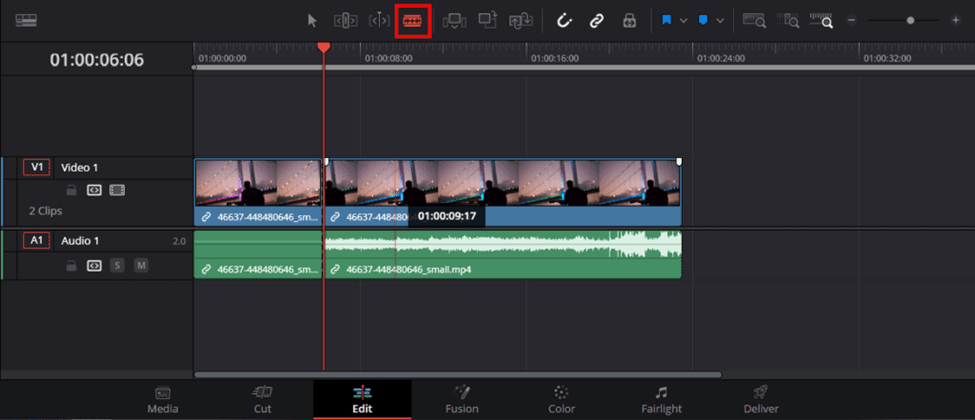
- Select the Clip: Click on the clip in the timeline that you want to split.
- Position the Playhead: Move the Playhead to the point where you want to split the clip.
- Split the Clip: Press Ctrl + B in Windows or Command + B in Mac. Alternatively, you can click on the razor blade icon in the toolbar and click on the spot where you want to split the clip.
How to Crop in DaVinci Resolve
- Select the Clip: Click on the clip in the timeline that you want to crop.
- Open the Inspector: Click on the “Inspector” button in the top right corner of the screen.
- Adjust Cropping: In the Inspector, scroll down to the “Cropping” section. Adjust the top, bottom, left, and right sliders to crop the clip as needed.
How to Add Text in DaVinci Resolve

Titles and text help provide essential information to the audience.
- Text Tools: Open the Effects Library and go to Titles.
- Basic Text: Drag the “Text” option to a new track above your video clip on the timeline for simple titles and captions.
- Text+ for Advanced Titles: Use “Text+” for adding more complex titles with advanced customization options like animations and 3D effects.
- Customize Text: In the Inspector Panel, adjust properties like font, size, color, and position. Customize the duration and animation of the text to match your video’s style.
How to Undo and Redo in DaVinci Resolve
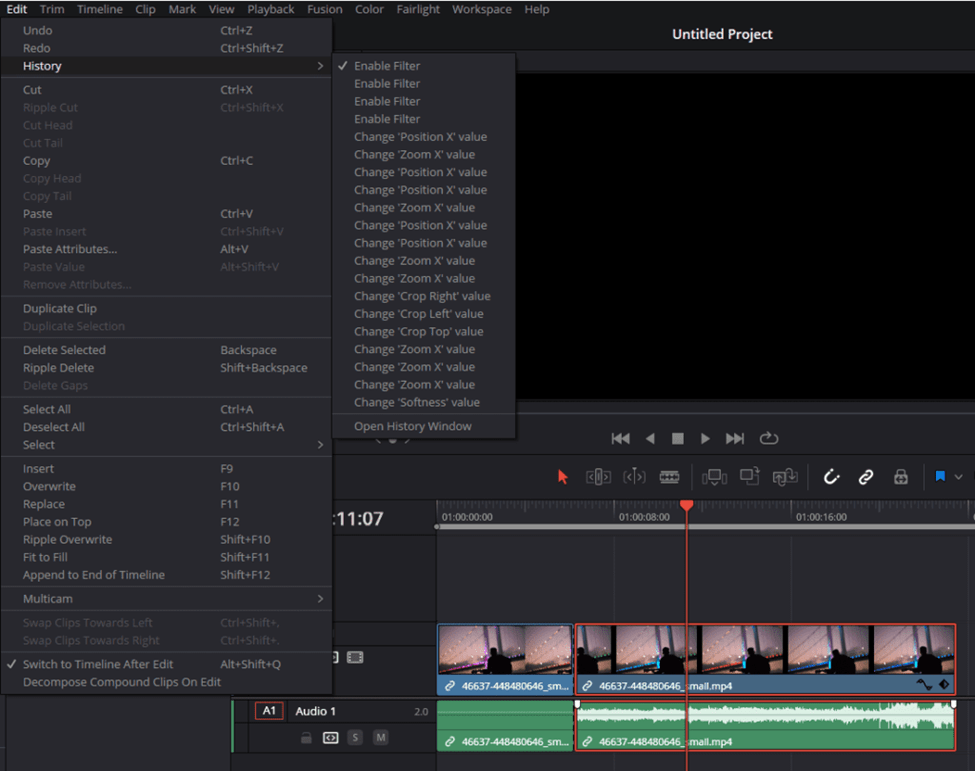
- Undo: Press Ctrl + Z in Windows or Command + Z in Mac to undo the last action. You can also go to Edit>Undo from the top menu.
- Redo: Press ‘Ctrl + Shift + Z’ in Windows or ‘Command + Shift + Z’ in Mac to redo anything. Alternatively, you can go to Edit>Redo from the top menu.
Exporting a Project in DaVinci Resolve
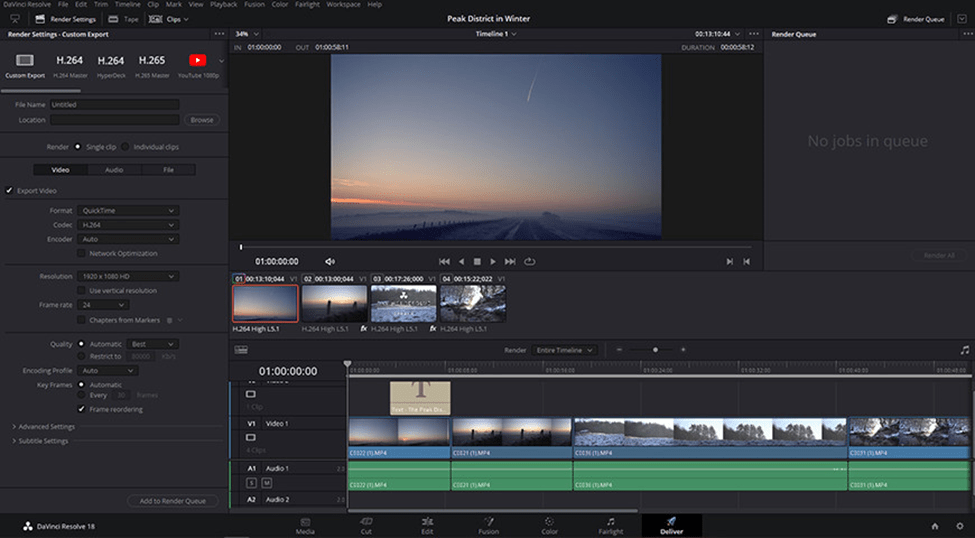
Exporting the project or a video is the final step to sharing your creation with the world.
- Deliver Tab: Go to the Deliver Tab to set up your export settings.
- Export Settings: Choose from templates like YouTube or customize your format, codec, resolution, and frame rate.
- Quick Export: For a quick export, use the Quick Export option in the Cut Tab.
- Render and Save: Click the ‘Add to Render Queue’ button, then start the render. The next step is to review and save the video.
Conclusion
DaVinci Resolve simplifies video editing with its user-friendly interface and powerful features. This guide walks you through everything from starting a new project to adding text, ensuring you can create stunning videos. Begin by setting up your project and importing media, then learn to trim clips and add them to the timeline. Enhance your video with effects, color correction, transitions, and text. Finally, export your project to share your polished creation with the world. Whether you’re editing for YouTube or a school project, DaVinci Resolve helps you achieve professional-quality results with ease.

Written by
Namrata Samal ![]()
Namrata is a skilled content writer with an expertise in writing marketing, tech, business-related topics, and more. She has been writing since 2021 and has written several write-ups. With her journey with Techjockey, she has worked on different genres of content like product descriptions, tech articles, alternate pages,... Read more