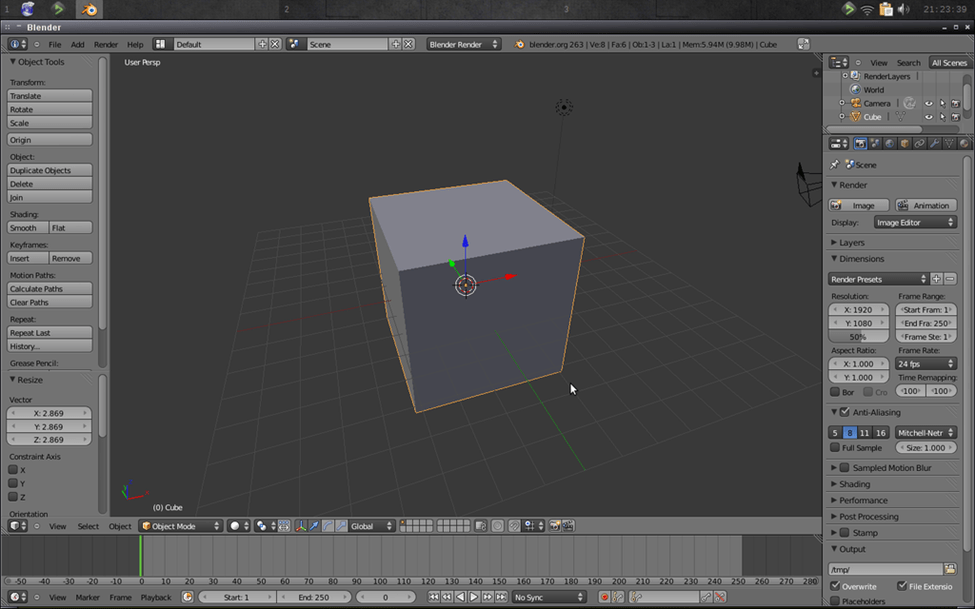
Blender is an advanced software for creating 3D models, visual effects, and animations. It is preferred by both beginners and professionals due to its advanced features and user-friendly interface. In this article, we will walk you through the workings of Blender and will try to make your Blender journey as smooth as possible. We will try to break down the complexity of this software and will help you with an easy understanding of how Blender works.
Blender at first might feel quite overwhelming due to the embedment of multiple buttons and panels. However, one can first focus on the primary areas. These include:
- Toolbar: Contains tools for sculpting, modeling, painting, and more.
- Properties Panel: Allows you to adjust settings for your materials, objects, and rendering.
- Outliner: Helps you provide you with a hierarchical view of all the objects used.
- Timeline: It is used in animation. This is to describe the sequence of events that happened.
- 3D Viewport: Central area which allows you to create and modify your models.
Basic Navigation in Blender
For effective modeling, one should know the basics of Blender. Here are the basic navigation controls:
- Rotate View: Hold the middle button of the mouse and rotate it to rotate the selected object.
- Pan View: Press Shift + middle button of the mouse and move the mouse to have Pan view.
- Zoom In/Out: Scroll the wheel of the mouse up and down to zoom in and zoom out.
- Select Object: To select any object simply right-click on it.
- Deselect Object: To deselect any object simply right click away from it.
- Select Multiple Objects: To select multiple objects at a time, hold shift and right-click on all of them.
- Select/Deselect All: Press A to select or deselect all objects in one go.

Blender
Starting Price
Price on Request
Other Advanced Navigations in Blender
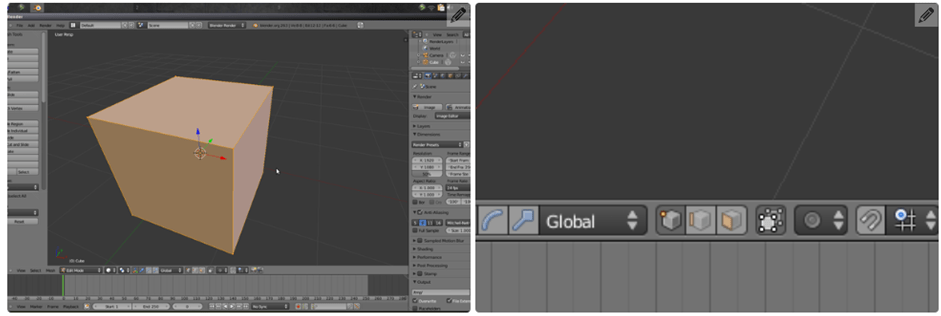
Apart from some of the basic navigation, Blender also offers you some advanced options which include different modes for different tasks. The two most important modes include Object Mode and Edit Mode. Let’s check them in detail below:
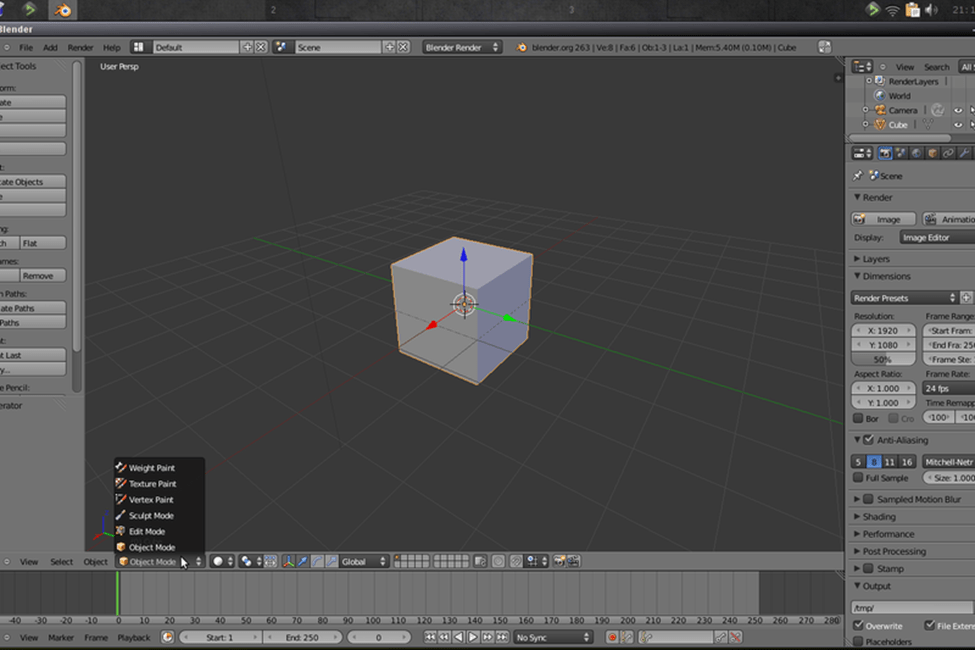
Object Mode: It is used for positioning, scaling, as well as rotating objects completely. To do so, you can simply press the Tab key. Also, by using this mode, you can insert new objects, delete old objects, and modify the properties of all objects.
Edit Mode: This mode simply allows you to modify the object’s geometry. For example, moving edges, vertices, and faces. You can easily switch to Edit Mode by clicking on any object and pressing Tab. This mode is where individuals spend most of their time while modeling.
Rotation, Scaling, and Translating
Modifying objects needs three important actions to be done. These include rotating, scaling, and translating/moving. These actions can be either done in Object Mode or Edit Mode. Let’s check them.
Rotate: To rotate any object, one needs to Press R. After you do so, you can control the rotation of any object to a specific axis for precise adjustments by pressing X, Y, or Z.
Scale: To scale any object, press S. Also, to scale your object to a specific axis, you can press X, Y, or Z. Scaling allows you to resize objects or parts of objects.
Translate (Move): Similarly, to move the object, press G. After pressing G, you can constrain the entire movement to a specific axis by pressing X, Y, or Z. It allows you to position your objects accurately.
The 3D Cursor
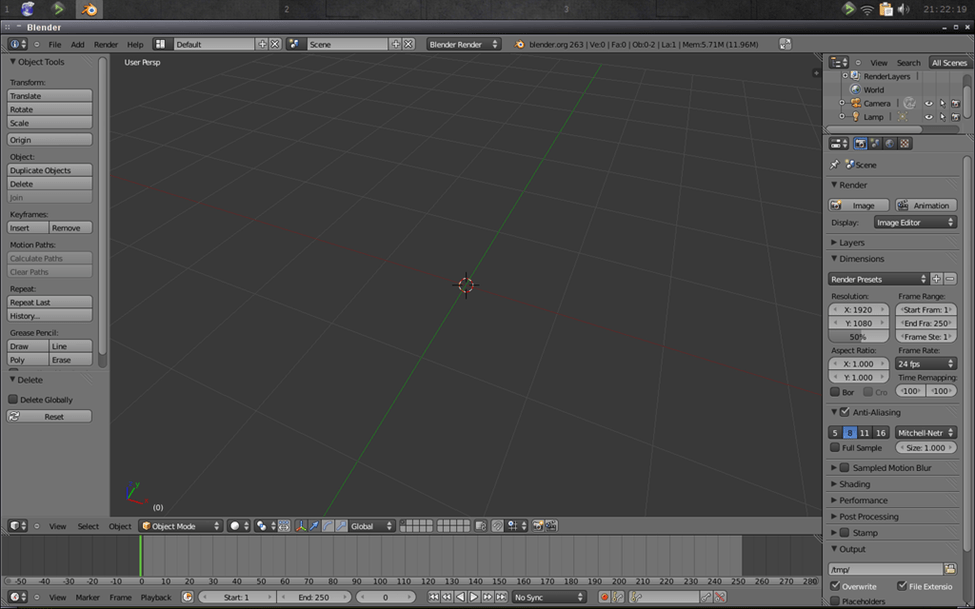
The 3D cursor in Blender acts as a reference point for various operations, such as adding new objects or setting the pivot point for transformations. You can place the 3D cursor anywhere in the 3D space by left clicking. Here are some common uses of the 3D cursor:
Adding New Objects: When you add a new object (e.g., a mesh), it will be placed at the location of the 3D cursor.
Pivot Point for Transformations: You can use the 3D cursor as the pivot point for rotating, scaling, and translating objects. This can be very useful for precise adjustments.
Centering the 3D Cursor: If the 3D cursor is off-screen or misplaced, you can press Shift + C to center it in the 3D view and reset its position to the origin.
Adding a Mesh
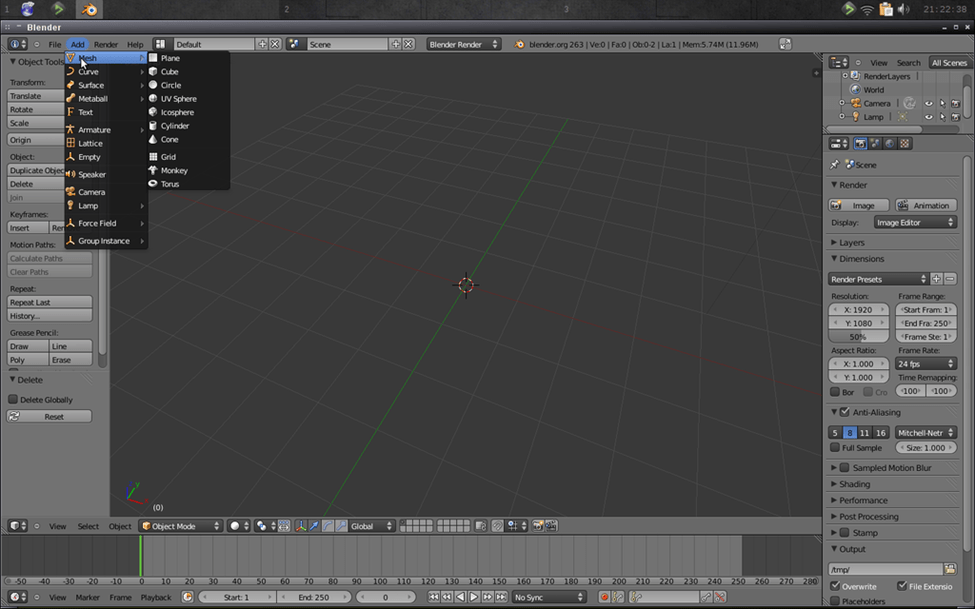
Meshes are the fundamental building blocks of 3D models in Blender. To add a new mesh:
- Press Shift + A to open the Add menu.
- Select Mesh from the menu.
- Choose the type of mesh you want to add (e.g., Cube, Sphere, Cylinder).
Once added, the new mesh will appear at the location of the 3D cursor. You can then enter Edit Mode to start shaping and modifying the mesh.
Selecting in Edit Mode
In Edit Mode, you can select different elements of your mesh: vertices, edges, and faces. Selecting these elements allows you to manipulate the shape of the object in detail:
Vertex Select: Press 1 or click the Vertex Select button to select vertices. Vertices are the points in space that define the shape of the mesh.
Edge Select: Press 2 or click the Edge Select button to select edges. Edges are the lines connecting vertices.
Face Select: Press 3 or click the Face Select button to select faces. Faces are flat surfaces enclosed by edges.
You can select multiple elements by holding Shift while clicking on them. To make complex selections, you can also use box select. For that, press B and drag a box around the elements) or circle select (press C and click-drag over the elements).
Merging

Merging vertices is a crucial technique for simplifying your mesh and creating more complex shapes. It’s often used to clean up the geometry or combine multiple vertices into a single point:
1. Select the vertices you want to merge by right-clicking them while holding Shift.
2. Press M to open the Merge menu.
3. Choose the desired merge option:
- At Center: Merges the selected vertices at their center point.
- At Cursor: Merges the selected vertices at the position of the 3D cursor.
- Collapse: Merges the selected vertices by collapsing them into a single point.
Merging helps in maintaining clean and manageable geometry, especially when refining models.
Extruding
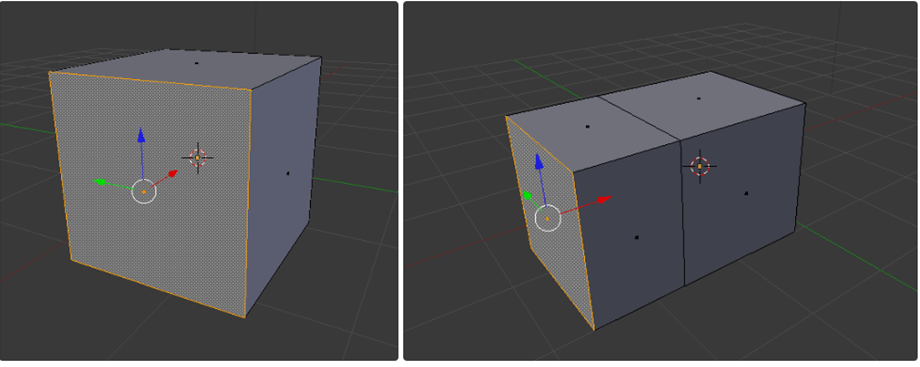
Extrusion is a fundamental modeling technique used to extend shapes by creating new geometry. It’s especially useful for creating complex forms from simple shapes:
1. Select the face, edge, or vertex you want to extrude.
2. Press E to extrude.
3. Move the mouse to position the extruded geometry, and click to confirm.
You can constrain the extrusion to a specific axis by pressing X, Y, or Z after pressing E. Extrusion allows you to quickly add depth and detail to your models, making it a vital tool in the modeling process.
Edge Loop Slide
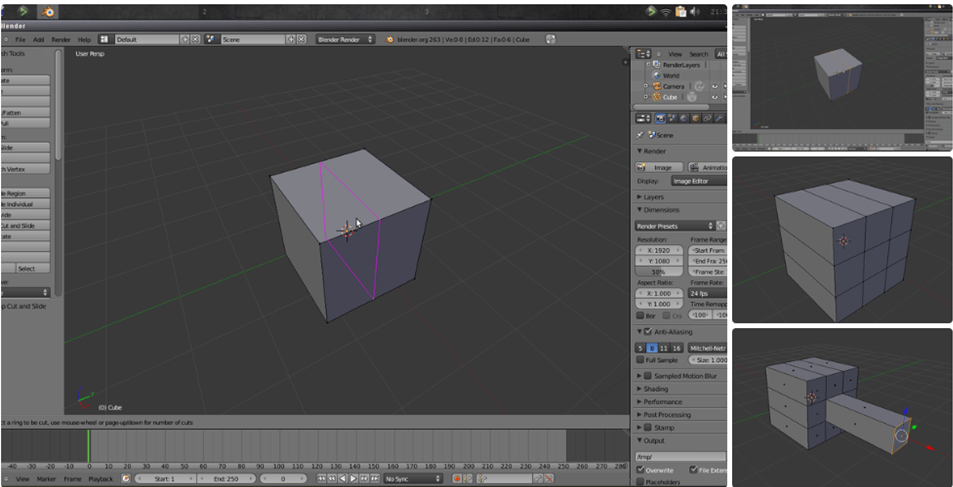
Edge loops are crucial for adding detail and controlling the shape of your model. Sliding edge loops help you adjust their position without altering the overall shape of the mesh:
- Select the edge loop you want to slide. You can select an edge loop by holding Alt and right-clicking on an edge.
- Press G twice (G, G) to enter Edge Slide mode.
- Move the mouse to slide the edge loop along its adjacent edges and click to confirm.
Edge loops are essential for defining the structure of your model, especially when preparing it for subdivision or smoothing.
Modifiers
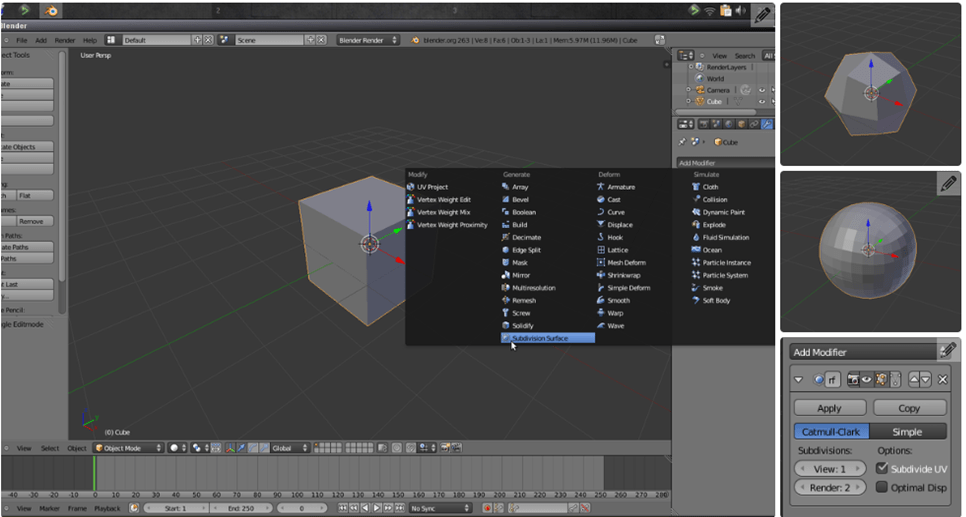
Modifiers are powerful tools that can automate complex modeling tasks and add non-destructive effects to your objects. They allow you to alter the appearance and behavior of your models without permanently changing the geometry:
- Select the object you want to modify.
- Go to the Modifiers tab in the Properties panel.
- Click Add Modifier and choose the desired modifier:
- Subdivision Surface: Smooths the object by subdividing its faces.
- Mirror: Mirrors the object along a specified axis, useful for symmetrical modeling.
- Boolean: Combines or subtracts the geometry of two objects.
Modifiers can be stacked and adjusted to create complex effects. You can apply them at any time to make the changes permanent, but until then, they remain non-destructive and reversible.
Conclusion
Blender might seem confusing and overwhelming at first, but with practice, it becomes an easy to use versatile tool to create 3D models and animations. By mastering basic navigation, modes, and modeling techniques, you’ll be well on your way to bringing your creative visions to life.

Written by
Namrata Samal ![]()
Namrata is a skilled content writer with an expertise in writing marketing, tech, business-related topics, and more. She has been writing since 2021 and has written several write-ups. With her journey with Techjockey, she has worked on different genres of content like product descriptions, tech articles, alternate pages,... Read more